Distance Converter
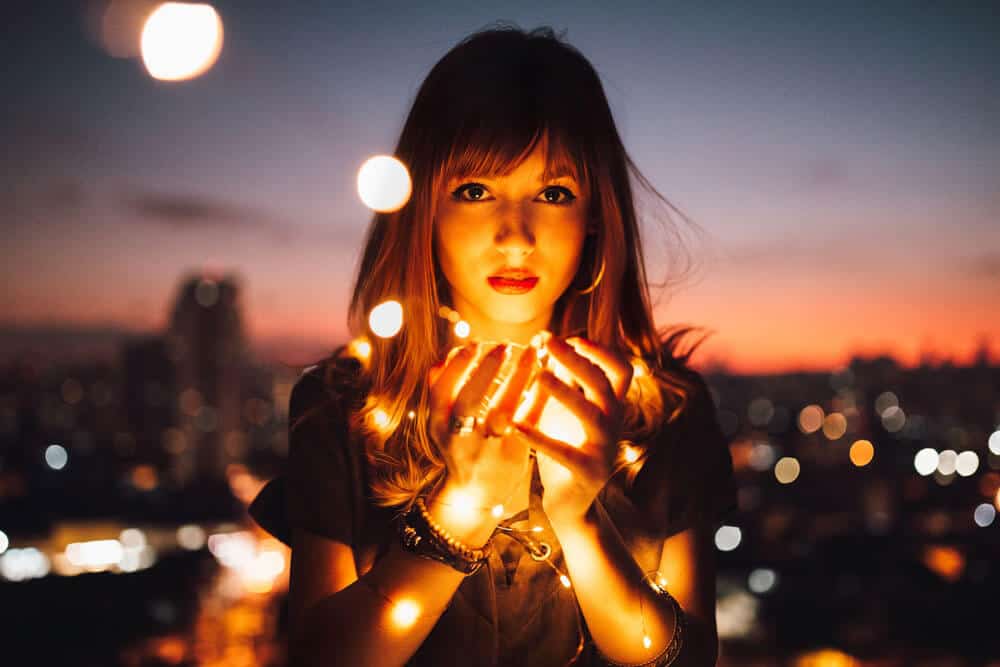
You own a camera and want to take pictures at night with flash. The article Camera Settings For Night Photography With Flash will show you how to set up your camera at night with flash to produce the best photos.
What is the function of the camera flash?
A tool that is used to illuminate a scene or subject in dim lighting is the camera flash. When the camera’s shutter is opened, it releases a burst of light that enables the camera to take a picture that is correctly exposed.
A few distinct uses for the camera flash include:
Low-light photography: The flash’s primary purpose is to add more light when the surrounding environment is insufficient. This enables the camera to capture images that are appropriately exposed in low-light situations, such as inside, at night, or in settings with low lighting.
Fill flash: To eliminate shadows brought on by direct sunshine in outdoor photography, a camera flash might be utilized. When capturing portraits, this may be very helpful as it helps lessen harsh shadows on the face and produce a more even exposure.
Red-eye reduction: When shooting pictures of people or animals, the red-eye effect brought on by the reflection of light from the subject’s eyes can be lessened by using the camera flash.
Creative effects: A few cameras additionally have sophisticated flash settings, such as slow sync flash, which enables the camera to record both the ambient light and the flash in the same picture.
Photographers can obtain properly exposed photographs in a range of lighting situations thanks to the camera flash, which is a handy tool in general. This is the next information in Camera Settings For Night Photography With Flash.
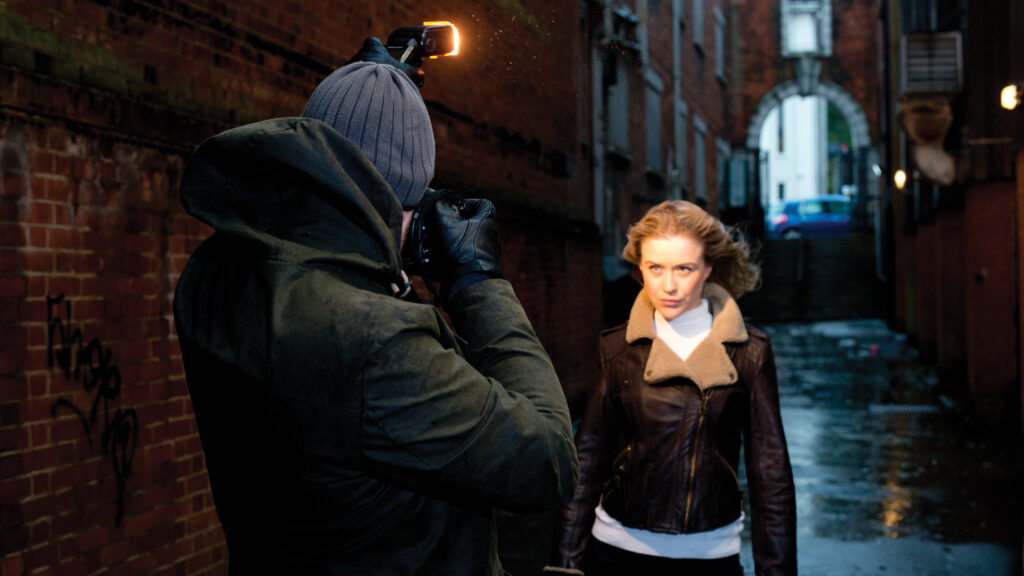
What do you need for night photography?
Night photography is a difficult and rewarding genre of photography that calls for specialized tools and methods. The following are some essential items you can require for night photography:
Photographing at night is best done with a camera that has manual settings and bulb mode since you can change the shutter speed and aperture to suit the illumination.
Tripod: Using a tripod ensures that the camera will remain steady throughout extended exposures, which is crucial for night photography.
To minimize camera shake, you can activate the shutter without touching the camera directly by using a cable release or remote control.
Wide-angle lens: A wide-angle lens gives you the ability to capture a larger field of view, which includes the stars and night sky, making it a popular choice for night photography.
Flashlight: Using a flashlight or headlamp to illuminate the area can help you set up your shot and fine-tune your camera’s settings.
Warm gear is necessary since night photography may be cold.
Research the place you want to photograph and make a strategy appropriately. It might be very helpful to be aware of the weather, the moon phase, and the composition you want to capture before you start shooting.
Software for post-processing: After capturing your images, you might need to use post-processing tools like Lightroom or Photoshop to make modifications to the exposure and color balance.
In general, night photography calls for a mix of technical expertise, tolerance, and imagination. You may take beautiful and distinctive pictures of the night sky and landscapes if you have the necessary tools and know how to do it. This is the next information in Camera Settings For Night Photography With Flash.
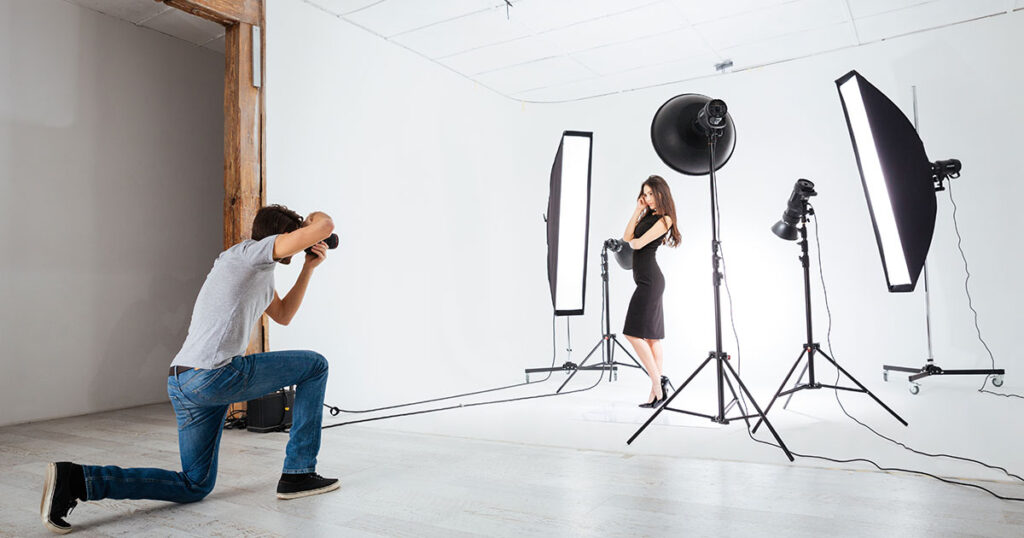
How to set up night photography with flash
Flash night photography may be a difficult and rewarding approach to producing original and fascinating pictures. Here are some pointers for setting up and photographing flash nighttime photos:
Use a tripod: Long exposures at night necessitate a tripod to keep the camera stable.
Put your camera in manual mode so you may adjust the ISO, shutter speed, and aperture to your heart’s content.
Use a wide aperture: A wide aperture (such as f/2.8 or f/4) allows more light to enter the camera and can aid in producing a shallow depth of focus, which can add aesthetic appeal to your images.
Select a slow shutter speed: To catch the ambient light in the picture, a slow shutter speed (such as 2–5 seconds) is required. Be careful, though, that the camera requires more steadiness the slower the shutter speed.
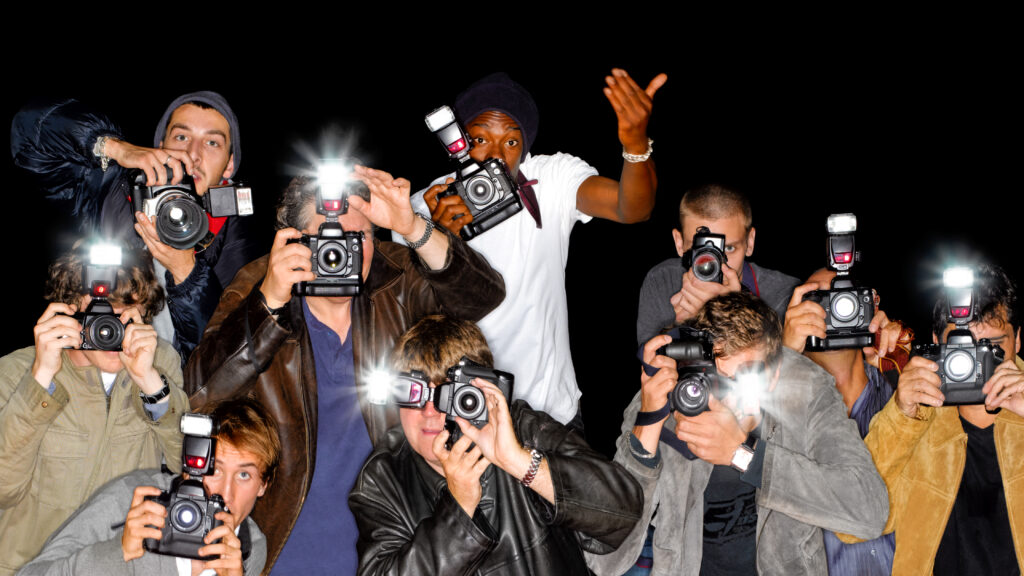
Use flash to light up your topic: Flash may be used to light up your subject and give your images more visual appeal. To get the desired result, experiment with various flash settings, such as flash exposure compensation.
Regulate the flash output: To control the flash’s power and soften the light, use a diffuser or gel.
Experiment with various viewpoints and angles to produce one-of-a-kind, eye-catching photographs.
Utilize flash exposure compensation: Modify the flash output to balance the flash and surrounding light.
Use a flash sync cord to connect your flash to your camera. This will enable you to activate the flash while the shutter is open on the camera.
Take test pictures and make necessary adjustments to your camera’s settings and flash output.
Remember that using a flash at night necessitates a thorough knowledge of how the camera and flash interact. To get the desired outcomes, patience, practice, and experimenting are essential. This is the next information in Camera Settings For Night Photography With Flash.
Conclusion
In addition to the usual ways of day photography, night photography with flash can also create stunning photos. Hopefully, the article Camera Settings For Night Photography With Flash will provide useful information for you.