Distance Converter
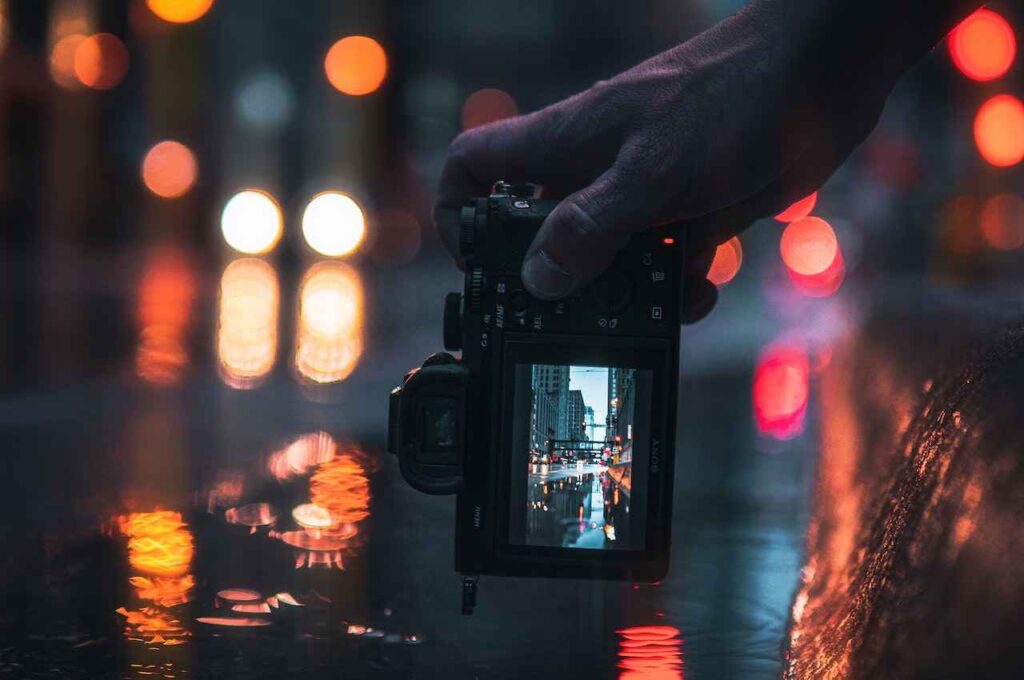
You have tried taking pictures at night but all the photos you get are always dark, not clear, even extremely dull and gloomy. Don’t worry, the following Camera Settings For Night Photography Without Flash article will help you set the correct exposure for your photos and create the most impressive nighttime frames.
Necessary equipment for night photography
Before talking about camera settings for night photography, we need to prepare the necessary equipment when taking photos at this time. First you need a camera with full manual mode. This will give you full control over the camera settings.
To check if your camera has this function, just look at the top face of the camera, see if the mode dial has an M symbol. If your camera has this mode, you can start your night photography session.
For this type of photography, a standard zoom lens is considered quite suitable, plus adding a super wide-angle lens, they will help you capture magnificent landscape photos, such as trees.
The bridge stretches out over the water. Besides, tripod is also a good accessory to support the camera to take long exposures at night. So choose a good, sturdy tripod that can support the weight of the camera.
In addition, when taking photos at night, to avoid camera shake, you should not or limit touching the camera to shoot. Instead, you need a remote trigger or a set of cables that control the shutter release so you can shoot without having to touch it.
This is further information in Camera Settings For Night Photography Without Flash.
Camera settings for night photography
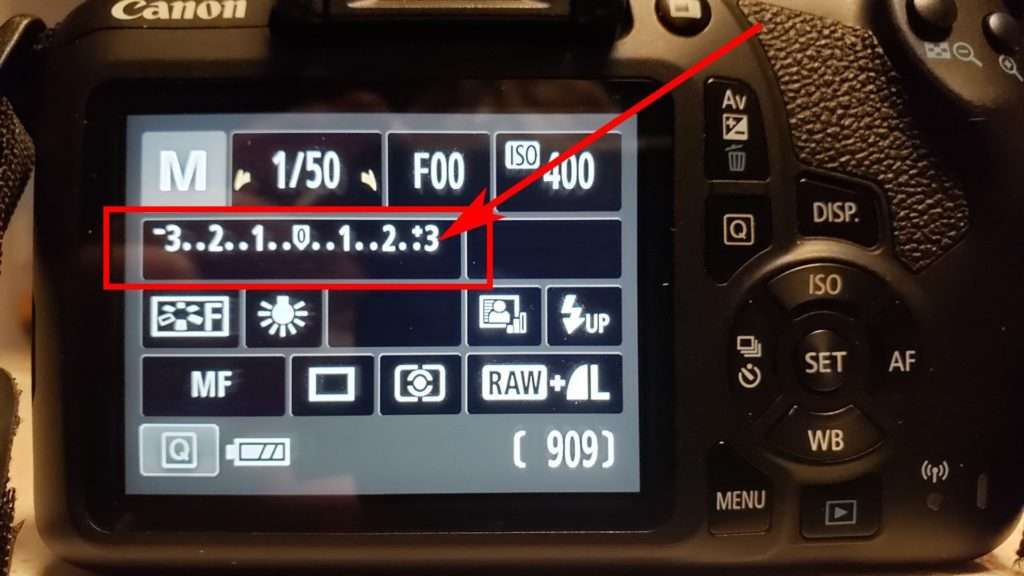
M: Manual mode selection
Shutter speed: 30 to 60 seconds. When it’s dark, a longer shutter speed allows more light to enter the camera. Therefore, if the photo is too dark, adjust the shutter speed slower, otherwise, if the photo is too bright, adjust the shutter speed faster.
Aperture: use f/8, f/11 or f/16. Choosing these aperture levels will help the photographer create sharp images from the foreground to the background (long depth of field).
As with shutter speed, you can make your photos brighter or darker with aperture. Try shooting at f/11 and if the image is too bright go to f/16, and when it’s too dark go to f/8.
ISO: 100 or 200. Setting the ISO speed at this level will greatly reduce image noise. For a clear night photo with vivid colors, the image will need to minimize image noise.
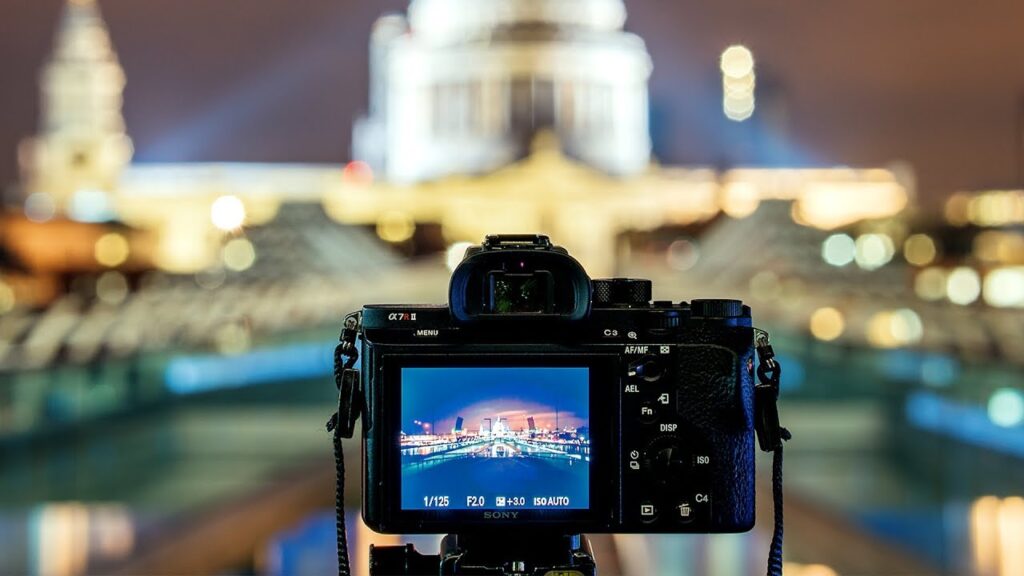
Set auto white balance: Night photography often has a lot of different light sources with different colors affecting. Shooting in Auto White Balance results in photos with neutral colors, which can be adjusted as needed in post-processing programs like Lightroom. Or another option for you is to set your camera’s white balance to daylight.
Manual focus: When it’s getting dark, it’s hard for your camera to focus on something. To help with this, focus on something bright in the distance, then manually adjust the focus on the lens to fix the focus point.
Shoot in RAW: This mode provides photographers with a variety of options for using images, supporting post-production to the best effect.
This is further information in Camera Settings For Night Photography Without Flash.
Night photography techniques
There are many ways to take pictures at night. You can set up the camera to create classic night shots of city lights, with a river sparkling like glass, or any large reflections. For these types of shots, framing is very important.
For example, the diagonal composition of a night photo creates a dynamic, modern look, and at the same time gives the impression that the subject is moving through the frame (especially the image of bridges).
With its super wide-angle lenses, it helps to create expansive scenes of city skylines or long bridges over a river. Photographers can choose from 16mm focal length lenses for full-frame cameras, 11mm lenses for crop sensor cameras, or 8mm lenses for micro 4/3 cameras.
Or to put it simply, just choose a lens slightly wider than the standard kit lens. Advice when taking photos at night is to shoot in RAW mode. At that time, post-processing through software such as lightroom or photoshop will not lose the details of the image.
In addition, this mode also makes it easier for photographers to create shadows and add depth to highlights in the scene, which also creates a more balanced exposure.
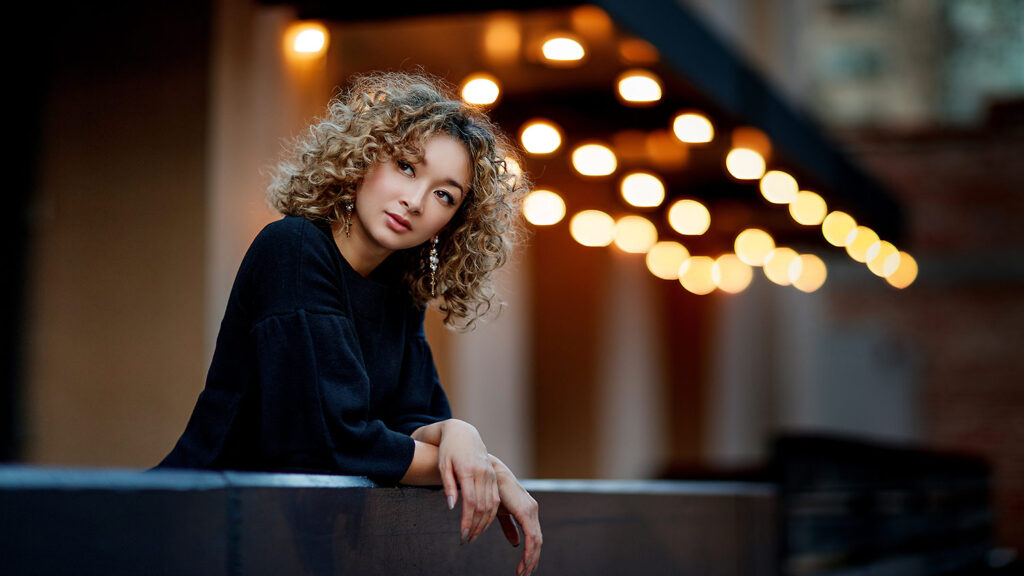
Besides, with the strong contrast between bright light and dark sky. The beautiful colors of the night and the post-editing process also make your photos more dramatic, artistic and aesthetically pleasing. This is further information in Camera Settings For Night Photography Without Flash.
Conclusion
It can be seen that to create beautiful photos at night is not difficult, the photographer just needs to know how to set up the camera to have the correct exposure.
Along with that, combining using your photography techniques, you will get the best night photos. Hopefully the article Camera Settings For Night Photography Without Flash will provide you with useful information.