Distance Converter
As more and more people start their own photography businesses, mastering great lighting is one way to set yourself apart from the competition.
Since light is all that photography is all about, What better approach to advance your photography career and grow as an artist than deepening your grasp of light? your?
Here are 5 photography lighting tips for beginners to help you take better photos.
The Most Useful Photography Lighting Tips For Beginners
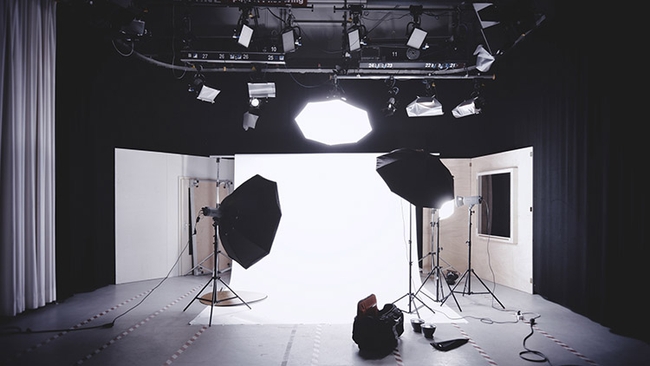
Practice Assessing Your Surroundings
This is the first tip of the best photography lighting tips for beginners. Wherever you are at the time, look around. A scene that includes you. Which adjective best describes light? What types of light are present everywhere around you?
When entering a room, a person wouldn’t normally stop to look at these things, but photographers do! For example, are the lights in your room incandescent or fluorescent? Are warm or cold tones present? Are there multiple light sources or are they gently diffused?
Not all lights are created equal. Each of them has special qualities including brightness, softness, and temperature. Different light sources can complement each other or they can compete with each other.
The best light source is often said to be natural sunlight because of its broad spectrum. Large windows can be a great asset, but if a ray of sunlight hits your subject, you may need to try to locate another spot in the room. In this case, you want the light to bounce around the space and fill it instead of hitting your subject directly.
No matter where you are, the first step to mastering lighting is to consider your surroundings and determine what you have to work on.
Monitor Color Temperature Carefully
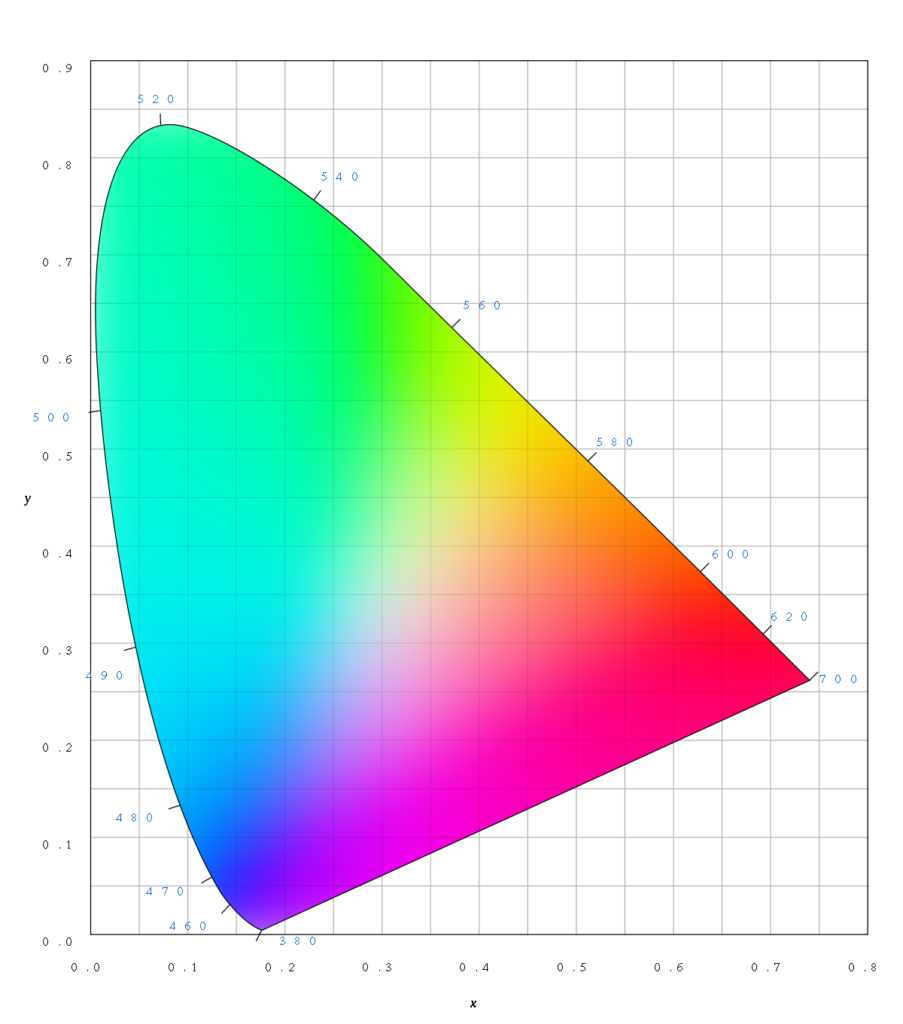
You’ve dealt with color temperature if you’ve ever bought a pack of light bulbs. If you try to mix and match soft whites with bright whites or cool whites, you run the risk of looking completely out of place. You can know the estimated true color temperature of these bulbs, expressed in kelvins, by reading the small text on them.
You’ll need to get used to thinking in terms of kelvins if you want to be a photographer. Because your camera can only match one of the light colors to true white, auto white balance can’t help you here. Your photo may be muted by second or third-kelvin-valued light because it will look too warm or too cold.
What are the photography lighting tips for beginners? The trick is to always try to match the color temperature of the light in your photos, especially when those colors are projected onto your subject rather than just the background object.
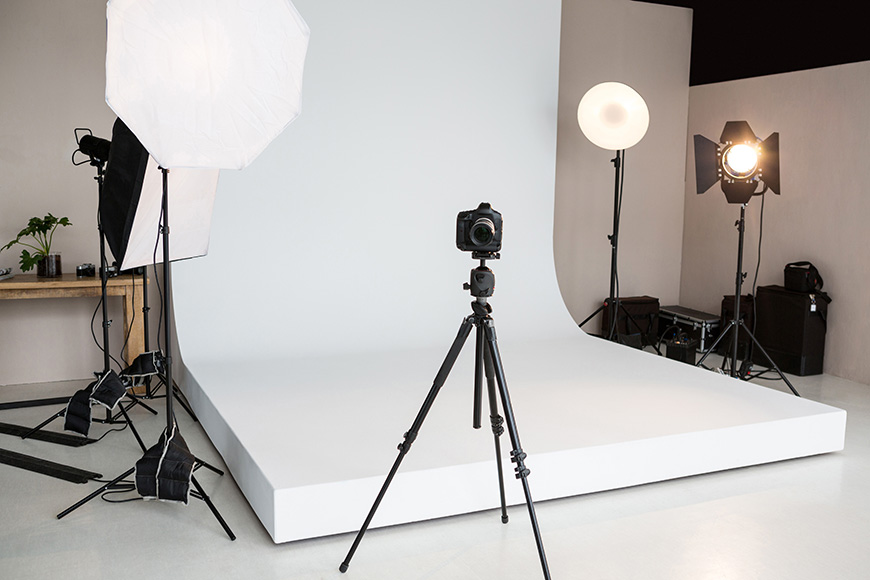
Starting With The Main Light
Your main light source is the main light.
The sun is often the main light source when shooting outdoors. Trying to use light sources to overwhelm the sun is difficult and not recommended. The “golden hour,” or the time just before sunset when the sun is at its most inclined, is an exception. The sun’s glare is now less intense and objects have lovely warm tones.
Most of the time, diffusing the sun on your subject with a “scrim” or blocking it out completely with a large, heavy piece of black fabric called a “flag” is all it takes to control the sun. as a photographer.
You’re in luck for your portrait session if it’s cloudy because the sun has softened. You won’t have a big blue sky in the background, but good lighting for your subject is always more important. If you’re moving in broad daylight, another strategy is to stay in the shade and, if possible, provide some light to the subject’s face. Shooting in the shade has the downside of being prone to overexposure if your background is in direct sunlight.
Controlling indoor lighting often requires you to be able to light your surroundings yourself, which gives you more control. You will use it as your “key” light and this is also one of the coolest photography lighting tips for beginners. Consider turning off any lights that leave your scene at once. Modern DSLRs perform excellently in low light, but they cannot remove the color nuances brought about by incandescent and fluorescent lighting.
To Add Contrast To Your Photo, Use A Drop Shadow
In general, the lighter the better.
However, one of the great photography lighting tips for beginners is contrast, this is how photographers give their photos depth and interest. If no areas of the image are brighter and which are darker, the contrast will not be as good.
Consider what you want to darken in the photo as well as what you want to be illuminated while composing the photo. Position your objects or lights to create contrast after visualizing them. This will eventually come naturally to you.
Shadows should be taken into account while creating your photos to give them a more dynamic appearance and more interesting photographic results. In addition, taking away light is often less expensive and easier than providing light.
Make Room For The Camera Between Your Light And It
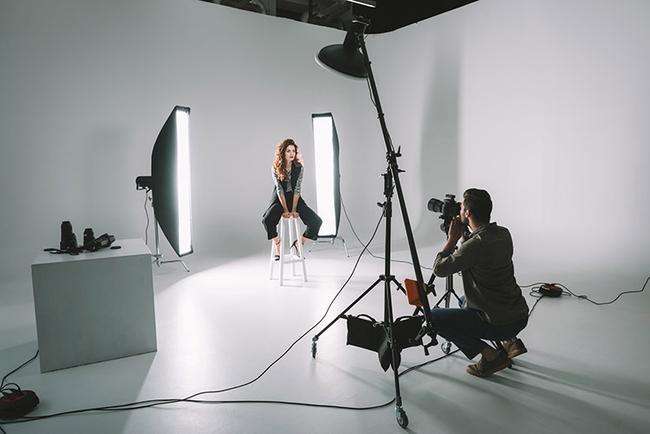
Have you ever noticed the bright dots produced by the flash on your subject’s forehead? Bright areas in their eyes? You may be using the light too close to the lens if that’s the case. Harsh reflections are created by the beam of light returning from the source too straight into the camera.
Because of this annoying effect, photographers and videographers shouldn’t rely solely on camera-mounted lights.
This is one of the best photography lighting tips for beginners. The optimal lighting setup for portrait photography is the main light on one side of the camera and the additional light on the other, both positioned at least a few meters away. This will spread the light and lessen the negative effects of bounce.
If you can’t use this lighting setup, a ring light that completely surrounds the camera is a great alternative to a gentle portrait view. It fills in shadows well and eliminates the appearance of any single “hot spots” on the subject’s face, reducing the prominence of wrinkles and other imperfections.
Conclusion
Given how often we take it for granted in our daily lives, light is a bit more complex than most people realize. Lighting is a skill that develops with time and practice.
Find a lighting professional to help you with your photography if possible. You will discover a lot about the tools they use and their methods for solving different situations. The fastest way to improve lighting is to have a mentor and gain first-hand experience.