Distance Converter
Distance Converter
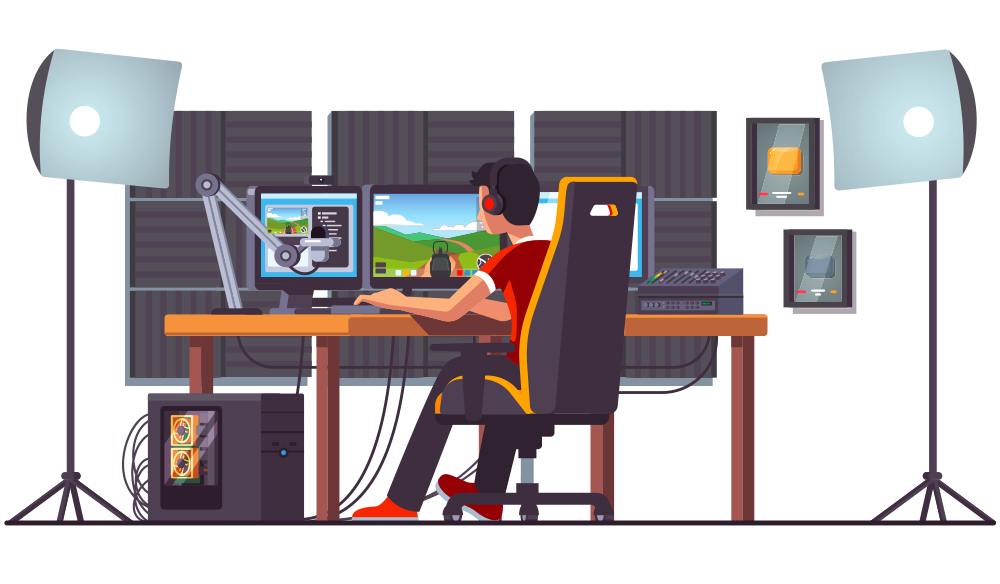
Livestreaming today is not too strange to us, one of the simple ways to improve the quality of your livestream is to use the camera. The article How To Set Up A Camera For Streaming will show you how to go live through your camera.
What is Streaming?
The distribution of material, such as video and music, in a continuous flow through the internet is referred to as streaming. This enables the customer to start viewing or listening nearly instantly.
With streaming, the material is sent in a continuous stream rather than being kept on the viewer’s device, enabling them to watch or listen to the information as it is being transmitted. In contrast, when material is downloaded, it is kept on the viewer’s device and is accessible even while the viewer is offline.
Services like Netflix, YouTube, and Spotify frequently provide streaming for music and video content.
What is camera live streaming?
The act of real-time, online transmission of a camera’s video feed is known as camera live streaming. The video stream can be sent to a particular website or platform, like YouTube or Facebook, where viewers can see it.
A variety of cameras, including smartphone cameras, digital cameras, and specialized streaming cameras, can be used for live streaming. Live streaming may be utilized for a number of things, including sharing ordinary moments with friends and family as well as broadcasting events, concerts, and sporting events.
You normally need an internet-connected device, a camera, and a platform or service to send the video feed to in order to live stream from a camera. This is a follow-up in How To Set Up A Camera For Streaming.
There are several benefits to live camera streaming that How To Set Up A Camera For Streaming wants to share:
Real-time involvement: Viewers who use live streaming may follow events as they take place, which can boost involvement and give a feeling of immediacy.
Increased audience: Because live streaming is accessible to anybody with an internet connection, it potentially has a considerably bigger audience than in-person events.
Greater accessibility: Events may still be experienced by individuals who are unable to attend them in person thanks to live streaming. Physically distant attendees or those unable to attend owing to mobility or other reasons might fall under this category.
Cost-effective: Because live streaming eliminates the need for venue rentals and other costs, it might be a more affordable option than holding an event in person.
Easy to get others to watch: Live broadcasts are simple to invite others to watch by sharing on social media and other platforms.
Recordable: Many live streaming services let you save the feed so that you may view it again later or share it with those who couldn’t see it live.
How To Set Up A Camera For Streaming
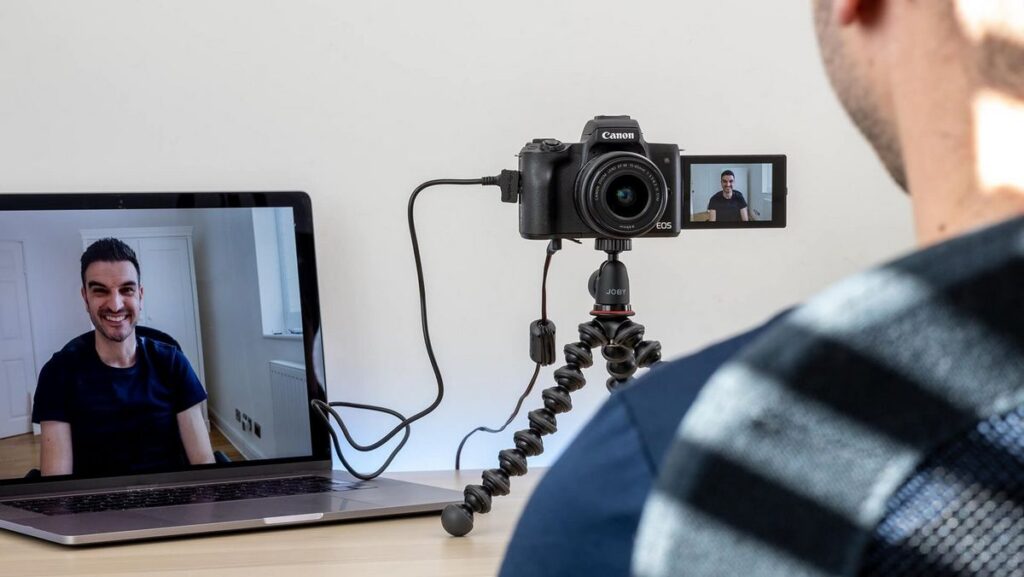
Select a camera: Choose a camera that works with your streaming setup, satisfies your quality standards, and is within your price range.
Set up the camera: To set up the camera and make any required connections, go to the manufacturer’s instructions. This can entail plugging the camera into a power source and using a USB cable to connect it to a computer or other device.
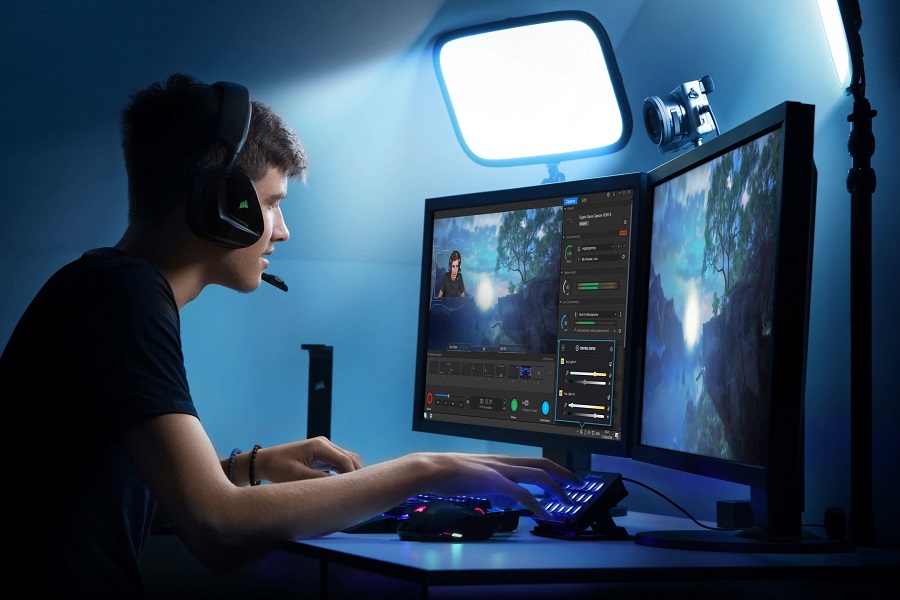
Download and install streaming software on your computer or other device. You may upload your camera’s video stream to the internet with this program. OBS Studio and XSplit are a few of well-liked alternatives.
Set the software up: To set up your streaming software to work with your camera, follow the instructions that come with it. The camera may be chosen as the video input source, and any appropriate audio input sources may also need to be set up.
Select a streaming service: Choose a streaming provider or platform, such as YouTube or Twitch. If required, register for a platform account.
Connect the platform to the software by following the directions provided by your streaming application. This may entail choosing the channel or website where you wish to stream and providing your login credentials for the platform.
Test the setup: Launch a test stream from the program to check the setup. Make any required modifications to make sure the audio and video are functioning properly.
Use the program to start the live broadcast when you are ready to start streaming. Viewers may watch the live as it happens since the platform will get a real-time video feed from your camera. This is a follow-up in How To Set Up A Camera For Streaming.
Notes on live streaming by camera
Internet access: For successful live streaming, you must have a dependable, fast internet connection. The broadcast might be interrupted or the quality of the movie could decline if the connection is too sluggish or unreliable.
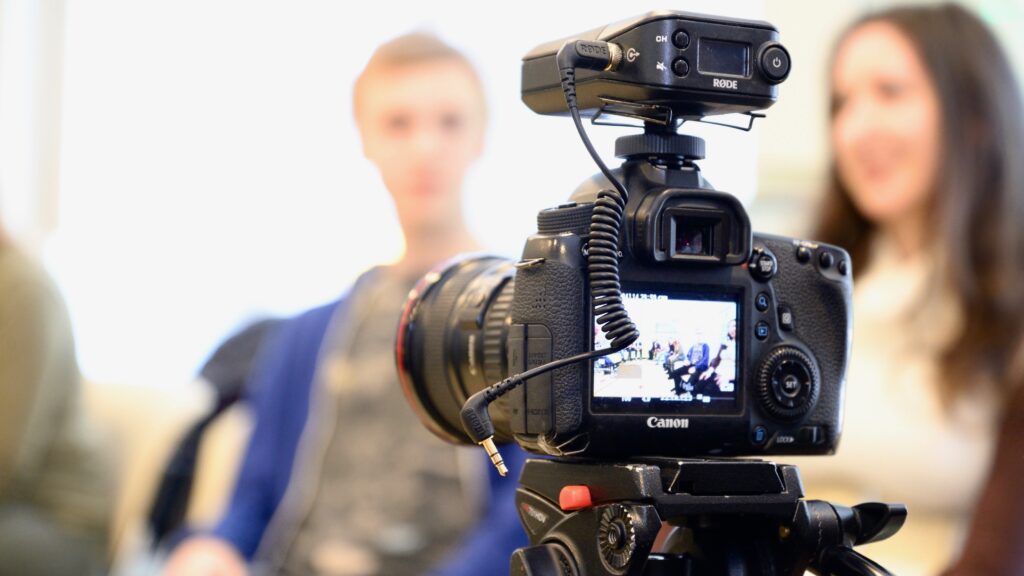
Camera quality: The capabilities of the utilized camera will determine the stream’s quality. Although they might cost more, higher-quality cameras will often generate streams that appear better.
Lighting: Clear and appealing streams are produced when there is good lighting. The video can be hard to view or appear washed out if the lighting is bad.
Audio quality: Pay attention to the stream’s audio quality. Viewers may become turned off if the audio is difficult to hear or has a lot of background noise.
Interact with viewers: Live streaming offers a fantastic opportunity to do so. Responding to comments and answering questions will entice people to ask questions and engage in the live.
Consider planning the stream’s content in advance, including any talking points or demos you wish to include. This can guarantee that the stream maintains its direction and flows without interruption.
Hopefully the article How To Set Up A Camera For Streaming will provide useful information for you.