Distance Converter
What is the best camera settings for low light? Using a camera’s built-in flash isn’t always a good idea because it might result in flat, unnatural-looking, overexposed photographs with harsh and unwelcome shadows. Having said that, shooting in low light without a flash can be difficult if you don’t know what you’re doing and can lead to too dark, blurry, or grainy images. Fortunately, there are a few techniques you can use in low-light situations instead of using your camera’s flash to get stunning shots.
The Coolest Tips For Camera Settings For Low Light
Increase ISO setting
The ISO setting of your digital camera will allow you to control the light sensitivity of the image sensor. For example, if you set ISO to 400 or 800, more light will enter the camera’s sensor than if you set it to ISO 100 or 200. So why don’t you always use higher ISO settings? ? The image will be sharper when the ISO is lower, and the image noise (grain) will increase as the ISO increases. Try setting your ISO to 800 to shoot in the camera settings for low light and make the necessary adjustments.
There’s still hope if you take a photo you love, but it has a lot of noise. Consider printing it on something with a special and creative flair, such as a Wood Print or a Classic Silver Metallic Print. The raw material your photo is printed on will show up throughout in areas where the image is white or has low saturation because your photo is printed directly onto wood or brushed aluminum. This helps to soften the imperfections in the photo.
Slow Down The Shutter Speed
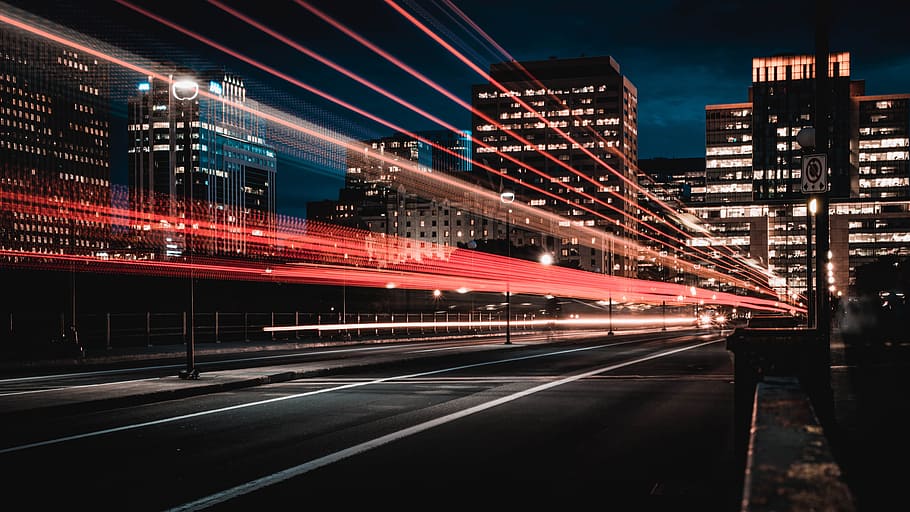
More light will enter the image with a longer exposure time. However, what is imperative about the camera settings for low light is that you must keep the camera as still as possible in order to capture sharp, clear images in low light by using slow shutter speeds and no noise. flash. If you plan to use a shorter shutter speed, make sure to follow guideline #4 as any movement will create blurry photos.
Close The Aperture
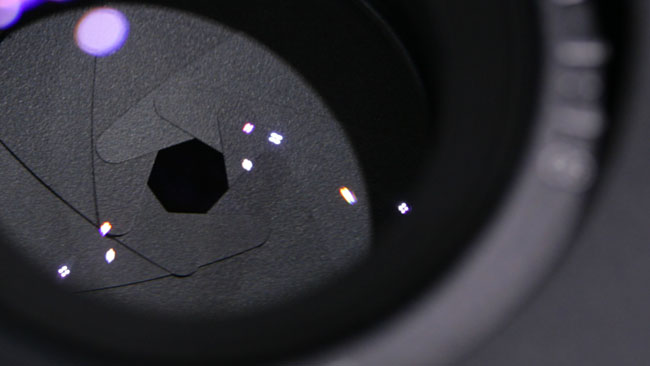
The camera’s aperture controls the amount of light that is allowed, while the ISO controls the speed at which light reaches the image sensor. Therefore, in terms of camera settings for low light, a wide aperture (low f-stop number) can also help you take nice low-light photos without using the flash.
Use Supplemental Lighting
Taking pictures in low light doesn’t necessarily mean no light. Try to use as much light as possible to create the sharpest photo you can without using a flash. If your subject is moving, place it near the light source or, if possible, direct the light in the direction of the subject. However, unless you want to create shadows, avoid placing lights behind your subject if that is the only light source.
Using Quick Lens
You should buy a fast lens if you shoot with a DSLR and are thinking of upgrading your optics to improve low-light photography. Wide aperture lenses are known as fast lenses, and they are ideal for low-light photography because they allow the camera to capture more light. Typical fast lens apertures include f/1.4, f/1.8 or f/2.8. Faster shutter speeds are also possible thanks to a larger aperture, which produces less camera shake and better images.
Minimize Camera Shake
The important thing about camera settings for low light is to completely eliminate camera movement when using a slower shutter speed to get clear images in low light. You can do this using a tripod and shutter-release cable, or by setting the self-timer on your camera. Using your camera’s built-in stabilization functions will also help you eliminate camera shake. This option may be located on the camera lens or camera body, depending on your particular model. The names of the image stabilization features depend on the type of camera you use: Sony is SteadyShot INSIDE, Nikon is Vibration Reduction (VR), Canon is Image Stabilization (IS), and so on.
Adjusting White Balance
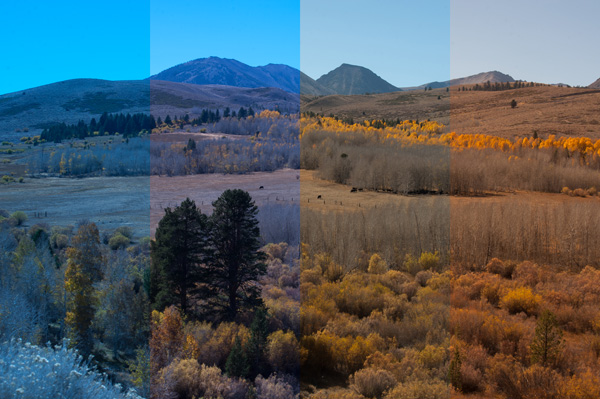
Low light can make your photos look pale or lackluster in color and detail. By adjusting the white balance on a digital camera, you are essentially telling the camera how white will appear in the image so it can make the necessary adjustments in an attempt to capture color as accurate as possible. Adjust the white balance in the camera settings for low light to match the type of light you’re using to avoid yellow, orange, or blue hues in your photos.
Post-Processing
Don’t expect miracles when using photo editing tools to improve your low light photos. You can edit your photos in post-production to remove image noise caused by using high ISOs, convert them to black and white, change contrast, brightness, shadows, highlights and sharpness , among other things. Just remember that you won’t be able to change a lousy photo into something great if it’s already bad in the first place.
Shoot In RAW Format
Of course in terms of camera settings for low light, shooting in RAW will result in sharper, higher quality photos than shooting in JPEG, so if possible, shoot in RAW. Plus, if you shoot in RAW, you’ll have more post-processing capabilities.
Practice And Test
You probably won’t become an expert in low light right away unless you’re some sort of prodigy. Like anything else, mastery requires experimentation and practice. To reduce the possibility of blurry photos, start by shooting stationary subjects while keeping the aforementioned photography advice in mind. Try something again with a different camera setting if it doesn’t work for you the first time. You’ll feel pretty comfortable shooting in low light with plenty of practice and experimentation, and you’ll have sharp, clear photos—without flash—in no time.
Conclusion
Now you won’t have to worry about low light while taking photos with our guide to camera settings for low light. Go ahead and get ready to welcome your own artistic photography.