Distance Converter
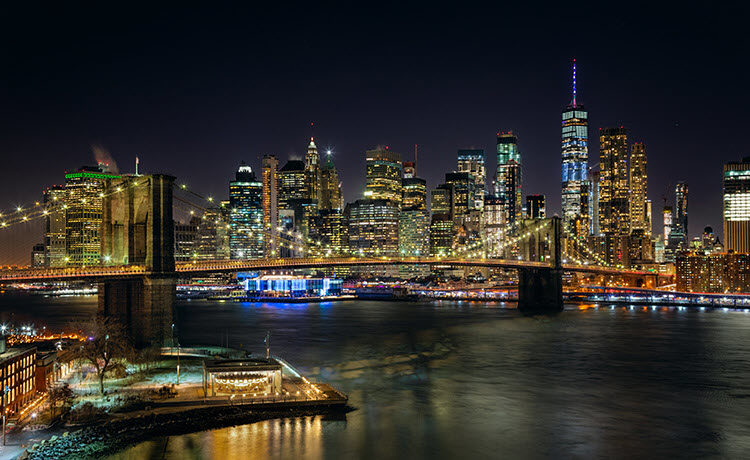
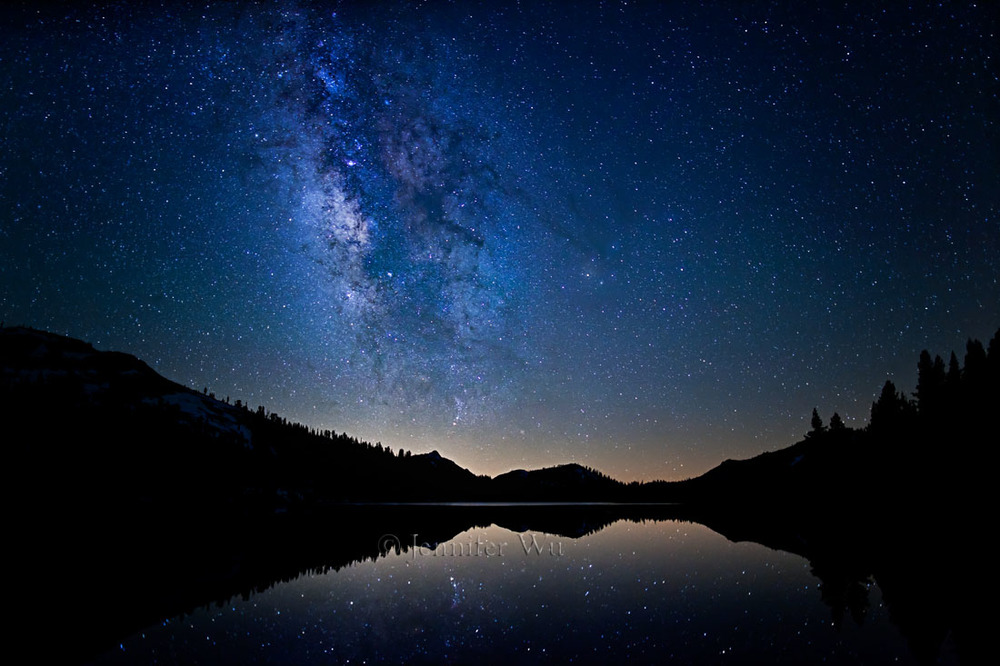
One fascinating genre of landscape photography is night photography. Even when it’s completely dark outside, the camera monitor still shows the starry sky and the beauty around you.
However, What is camera setting for night photography? photographing the night sky is actually not as simple as one might think. In many cases, it actually goes against “regular” landscape photography. I know from experience that using the “wrong” settings can lead to completely black images and a lot of aggravation.
You must choose the right aperture, ISO, and shutter speed to take beautiful pictures of the night sky. Here are the steps on camera setting for night photography.
The Best Guide Camera Setting For Night Photography

Put Your Camera in Manual Mode
In fact, when shooting night photography, manual mode is the most user-friendly. Trust me on this and switch your camera to manual mode by pressing the “M” button.
Find a Tripod or Something for Support
What is the camera setting for night photography? Your camera will need at least 10 seconds to capture a night photograph. This indicates that the shutter speed is at least 10 seconds, thus a hand-held photo will undoubtedly be fuzzy. You must use a solid tripod, or at the very least, position your camera such that it can stand completely still for ten seconds.
Reduce The Aperture As Much As Possible
Set Your Shutter Speed To 10 (10 Seconds)
As you will see later on camera setting for night photography, depending on the amount of light present in your landscape, you may need to vary the shutter speed up or down, but 10′′ will give you a good starting point for photography.
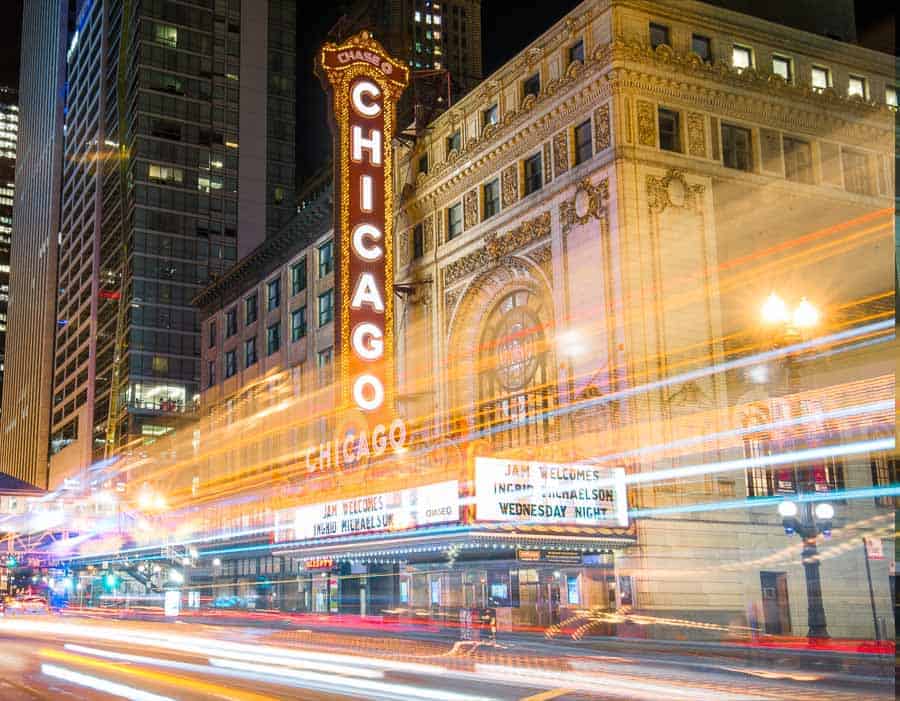
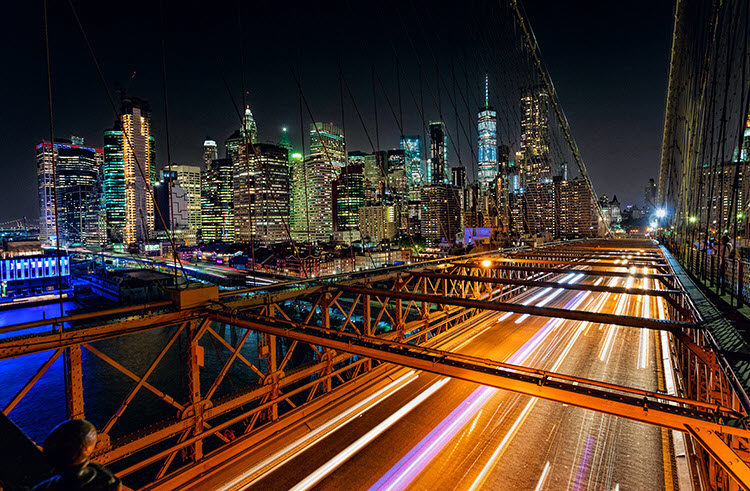
You’ll discover that while it may seem CRAZY to capture an image for ten seconds, this is actually quite normal for a night photograph. I took a few night shots that required an exposure time of almost 30 minutes—for one photo only!
Your ISO Should Be 1600
The image gets brighter as the ISO goes up, but there is also more noise. Simply put, you have to make this tradeoff at night in order to acquire a shot that is correctly exposed. But at ISO 1600, the majority of current cameras can capture a clear, pleasing image.
Analyze The Exposure After Taking A Picture
It’s time to snap a picture now after the camera setting for night photography. You’ll observe that the image records and plays back on your LCD screen in a LONG time. That is entirely typical.
You must determine whether the image is too bright or too dark. Increase your shutter speed to 30 seconds if the image is too dark (30 seconds). then click a second time. Increase your ISO to 3200 if it’s still too dark. That will make the image blurry, but you might have to accept that as a trade-off.
Reduce your ISO to 800 if the image is too bright. If it’s still too dark, lower the ISO even further or lower the shutter speed to 8 inches.
Quick Tip! heading and type=”success”

About camera setting for night photography, the dim lighting outside will cause your pupils to enlarge, giving the screen on your camera the appearance of being brighter than it actually is. When new night photographers view their photos on their screens, they frequently find that the image is rather dark when they get home and upload it to their computers. To account for this discrepancy, I advise shooting a little brighter than what you believe looks good. [/x alert]
Night Photography Equipment

- A camera with manual shooting capabilities: Any modern point-and-shoot camera, any DSLR, or a mirrorless camera might be used for this.
- A tripod: Given that you’ll be utilizing a slow shutter speed, night shooting will simply not be possible without a tripod. The image will be hazy otherwise.
- A cable announcement: A cable release is not necessary for taking night photos, but as you become more experienced, it may be a useful piece of equipment to have. To allow the camera to capture images for more than 30 seconds, a cable release plugs into your camera and provides a button you may press and lock (the usual max shutter speed of most cameras).
- A flashlight: A flashlight is a necessity if you believe you might wish to learn how to do light painting in the future. When you take a picture while light painting, you move a flashlight around the area. If you’re interested in learning more, look at my light painting tutorial.
Conclusion
Actually, camera setting for night photography is quite simple. In fact, the first skill I want a beginner photographer to master is night photography. Because everything moves more slowly, you can take your time and see the effects of shutter speed, aperture, and ISO easily, it is simpler than taking photos during the day.
