Distance Converter
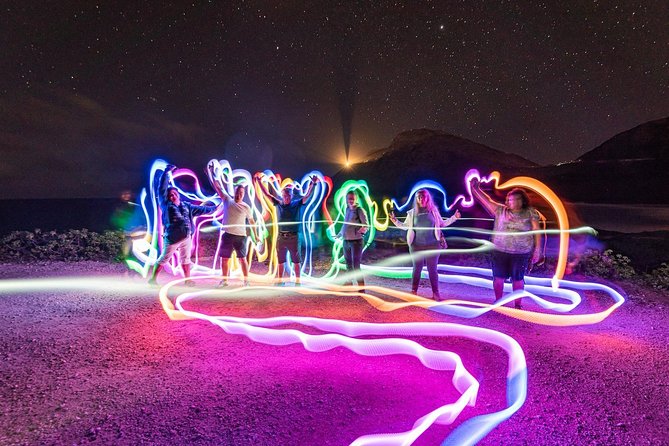
Glow Painting Images created through photography can have a dramatic and magical feel. The use of light is essential for photography. And often, we have trouble using its full power.
In contrast, painting with light In photography, light acts like the paint you put on a black canvas. You create text, images, and even geometry.
Painting with light allows you to take beautiful and original photos. And if you haven’t seen light painting photography before, then we will show you about camera setting for painting with light.
What Is Light Painting?

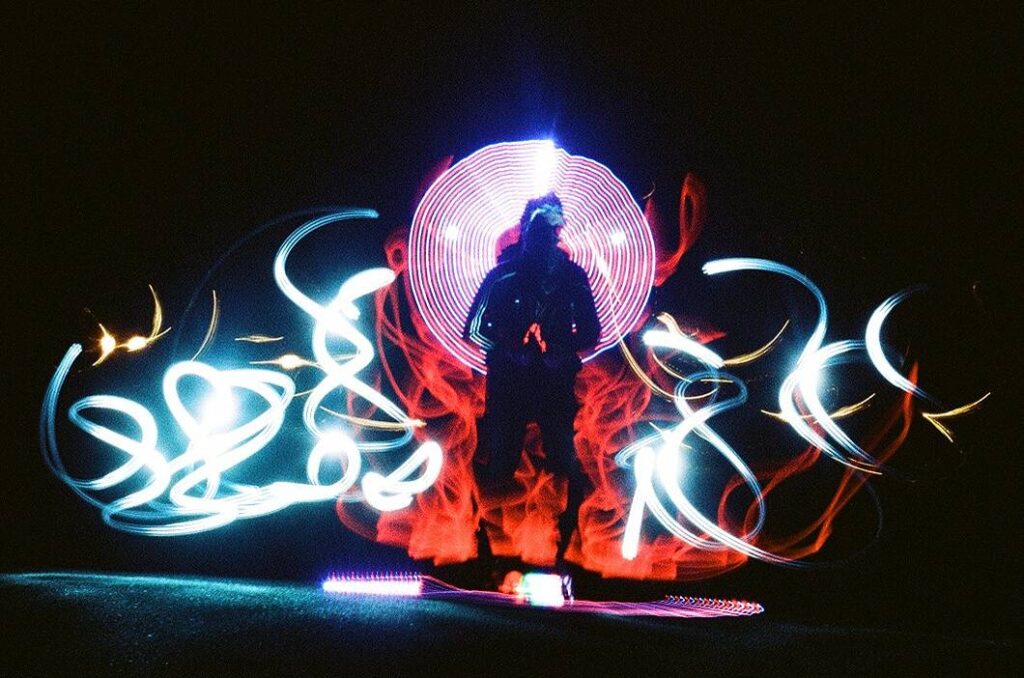
Light painting, also known as light sketching or light graffiti, is a camera setting for painting with light processes using a moving light source, such as a flashlight, glow stick, light broom, or even a smartphone. Light painters give something else to an image beyond the main subject by highlighting it or by adding streaks, color, or flicker.
What Is The Best Camera Setting For Painting With Light?
You’ll need to experiment with your camera setting for painting with light to find the precise ones to utilize for the desired effect, just like with any type of specialist photography. However, there are several specifics that can guide your light painting endeavors.
The most important distinction from the majority of the photographs you’ll probably shoot is that you’ll need a long exposure. Depending on what you’re producing, we’re talking a fairly long time—at least 30 seconds. With a lengthy exposure, motionless things remain sharp while your camera captures motion in a blur. The motion in light paints will act as a light source.
The most fundamental camera setting for painting with light that must be entered in order to achieve that long exposure and produce a light painting are as follows:
- Manual or light-bulb
- Snapshot duration: 30 seconds
- Aperture or F-stop: 8 or 10
- ISO: 100
The Guide Step-By-Step Camera Setting For Painting With Light
Determine The Base Exposures
Before you add new light painting elements, you must establish a basic exposure to ambient light. Setting your ISO six stops higher than the ISO you will be using can be helpful since you will be using a long exposure time. You should set it to ISO 6400 if you’re using ISO 100. Calculate how long you need to expose around at that ISO. One minute at ISO 100 is equivalent to one second at ISO 6400. Set the ISO back to 100 and check the exposure for a few minutes after determining the exposure in seconds. You have the base exposure time if it lines up.
image center
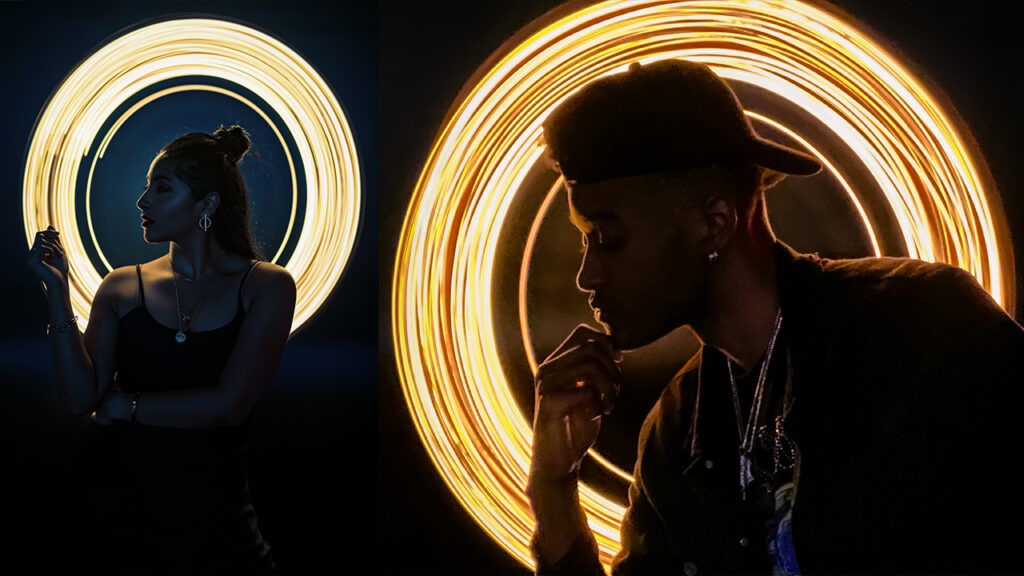
Focus The Image
Before starting to paint with light, it is important in the camera setting for painting with light to focus your image, but doing so in the dark can be a challenge. The manual focus option comes in handy in this situation. If there is an option, you can focus the camera by turning on the overhead light. However, if you don’t have an overhead light—for example, if you’re shooting outdoors—you can point the light source toward the area of the image you want to focus on. As long as you’re focused, keep that light on; once you’ve reached it, turn it off.
Initially Exposed
The fun part is now! It’s time to start exposing yourself and start drawing. If you want an exposure time longer than 30 seconds, change your shutter speed to bulb mode as most cameras only allow exposure times up to that time. Bulb mode instructs the camera to keep taking pictures until you release your finger from the shutter button (or remote shutter button).
Equipment For Camera Setting For Painting With Light
To make camera setting for painting with light, you’ll need some fundamental tools and slightly more complex camera settings. We’ll discuss both. Let’s talk about the equipment first.
Camera
A camera is required to make a camera setting for painting with light. The customizability and accessories you’ll need to achieve the best light painting results are available with a DSLR digital camera with manual settings. But you can also make light paintings using your iPhone. As most people already own phones, it’s a good way to get started in the art for less money. But if you decide to take that path, you’ll need an app made expressly for light painting, and many of the other suggestions on this list won’t apply.
Tripod
Since the shutter is open for a long period of time during long exposure photography, any movement, no matter how small, can cause a blurred image. Some blurs—the blurs your light source creates—are really meant when painting with light. However, blur caused by camera shake will produce a blurry image. Regarding the camera setting for painting with light, make sure you have a sturdy tripod to avoid camera shake. This tripod requirement is only waived if you are doing the dynamic light painting. We will cover this soon.
Light Source
For camera setting for painting with light, you may use almost any tool as a light source, but each one will have a different result—and even a different color. Light painting brushes, flashlights, lasers, glow sticks, strobe lights, candles, LED lights, and even string lights are a few examples of common light sources. It’s worthwhile to experiment with various light sources to see which ones produce the desired effect the best.
Remote Shutter Release
Even the slightest movement can result in blurred images when using a long shutter speed. This in the camera setting for painting with light means that you should really avoid touching the camera or tripod unless you are doing kinetic painting with light. Instead, spend your money buying a cable or a remote control for your camera. You can take pictures with these tools without even touching your camera! Your camera’s self-timer will work if you’re not ready to invest in a remote shutter release or cable release.
Stopwatch
When painting with light, a stopwatch can be useful, especially if you are controlling light sources by hand. Counting seconds in your brain while painting the light will be challenging and distracting, but you’ll need to keep the shutter open long enough to finish. Instead, time your motion with a stopwatch and then change the shutter speed or motion speed as needed.
Color Gel
A clear pigment called a pigment gel coats your lens and changes the color of the photo you’re taking. They are available to buy online, at camera stores, or you can even make your own from colorful pieces of clear plastic. Change the color of the light you are dealing with using colored gels. You may need to use these from time to time, but only if you are achieving certain results.
Conclusion
The most crucial thing to keep in mind when light painting is to experiment, have fun, and create your own unique style. So get in and explore what appeals to you with this medium that offers so many opportunities to express yourself.